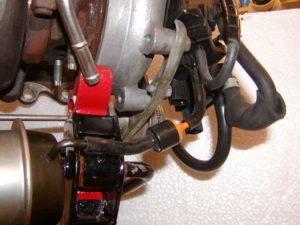
IACV connection
EGCV connection ((Look at the above Picture EGCV and Wastegate, and this is the hose on the right that goes to the EGCV Actuator)
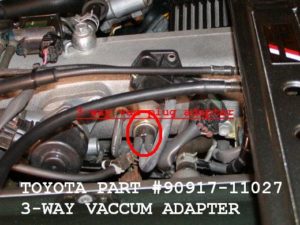
3-Way Vacuum line- Adapter for supplying multiple pressure sources off the manifold, like gauges and such.
Sequential System Layout

OLYMPUS DIGITAL CAMERA
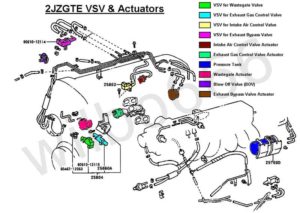
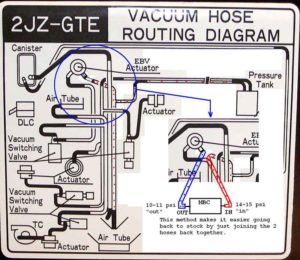
#1 Turbo Boost Control-This is the basic way of installing the Boost Controller. All you need to do is to intercept the *right* side vacuum line and install the boost control between the pressure side and the EBV actuator side. I have many pics of the EBV actuator here. I also suggest running a little longer line back towards the front of the car. This way if you ever need to revert back, just remove the boost controller and connect the 2 hoses back together. This is a much easier way if you plan on removing this later. You then adjust the MBC or EBC to whatever boost you want to see prior to transition. I use 14-15psi, or 1-Bar. So once I get to this level, usually around 2500 rpms, it “holds” there until transition, or full boost. This still gives plenty of time for pre-spool, plus all excess boost goes to the actuator for prespool.
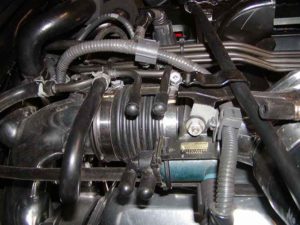
CAP OFF VSV after you have completed the install.
NEW: EBV test: This was a test I did to really get a better understanding of how the EBV system works. I hooked up a analog boost gauge to the pressure side of the EBV actuator to read the pressure output. (Note: gauge is reading 0-10psi at top) I hooked a LED to the VSV to signal me when the VSV activated and opened. I was surprised to find that the VSV switches off after transition, as opposed to staying open keeping the gate closed.
So the VSV is “normally off”. As soon as you take off, the EBV actuator is pressurized, and stays pressurized until 4000RPM. Then the ECU activates the VSV and opens the pressure to atmosphere. This in turn prevents the actuator from opening by removing all pressure to it.
So what the video above shows, or what your looking at, is the EBV actuator pressure on the steering column, and the tach in the background. Right around 4000 rpms, the LED lights up denoting the VSV has been activated. Watch the boost gauge drop to “0” PSI as soon as the pressure is relieved (like a boost leak). After full transition, the boost gauge rockets to full boost. Hence why I think we see that “dip” in the dyno curves for stock sequential systems. It does surprise me that the ECU doesn’t continue to keep it open. I can only assume that Toyota found it better for the EBV gate to remain open after full transition. To me it doesn’t make sense. It diverts exhaust pressure away from the turbine by dumping down the back side of the turbine. But what do I know (-:
So this confirms that the way I do my EBV #1 boost mod is actually better. The boost never goes to “0” in my method. It just holds it at whatever boost you choose, and the excess boost is used to open the EBV gate in sufficient time to get pre-spool.
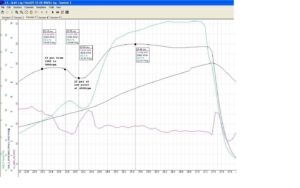
Here is a LogWorks Log I made showing the boost characteristics. LogWorks-1 I really don’t think I can get rid of the “Dip” all together. It is barely noticeable with my butt dyno this 3psi drop. Once the EBV does start to open, your bound to loose some energy. I am still trying to find away to distribute the boost pressure so the curve goes flat rather than dip. This can be done if you could raise the transition to around 4200rpm +
